
Who doesn’t love a dessert that combines two favorites—cookies and cake? If you’re craving a sweet treat that’s perfect for any occasion, a cookie cake is the ultimate crowd-pleaser. It’s easy to make, endlessly customizable, and seriously delicious. Whether you’re a baking newbie or a seasoned pro, this guide will walk you through everything you need to know to make the perfect cookie cake from scratch. Let’s dive in!
Introduction to Cookie Cakes
What is a Cookie Cake?
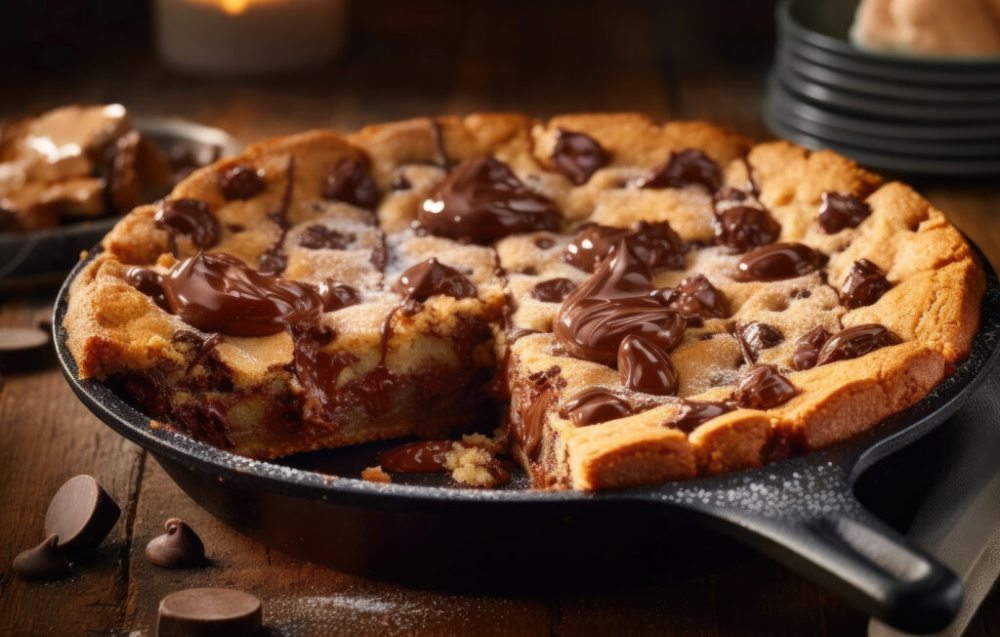
A cookie cake is a hybrid dessert that combines the soft, chewy texture of a cookie with the grandeur of a cake. Typically baked in a round or square pan, it’s often topped with frosting and decorations, making it ideal for birthdays, holidays, or any celebration.
To enhance your understanding of cookies and their versatility, check out Crumbl Cookies: The Weekly Flavor Adventure You’ll Love, which explores different cookie flavor profiles you might want to incorporate.
Why Cookie Cakes Are So Popular
Cookie cakes are loved for their simplicity and universal appeal. They evoke nostalgia while also serving as a blank canvas for creativity. Whether you’re customizing flavors, experimenting with toppings, or decorating for a theme, cookie cakes offer endless possibilities.
For more inspiration on how cookies can be a source of bliss, read Cookie Cake Bliss: Tips, Tricks, and Toppings You’ll Love.
“The beauty of a cookie cake lies in its simplicity. It’s comfort food that doubles as a show-stopper.”
Essential Ingredients for a Cookie Cake
Choosing the Right Type of Cookie Dough
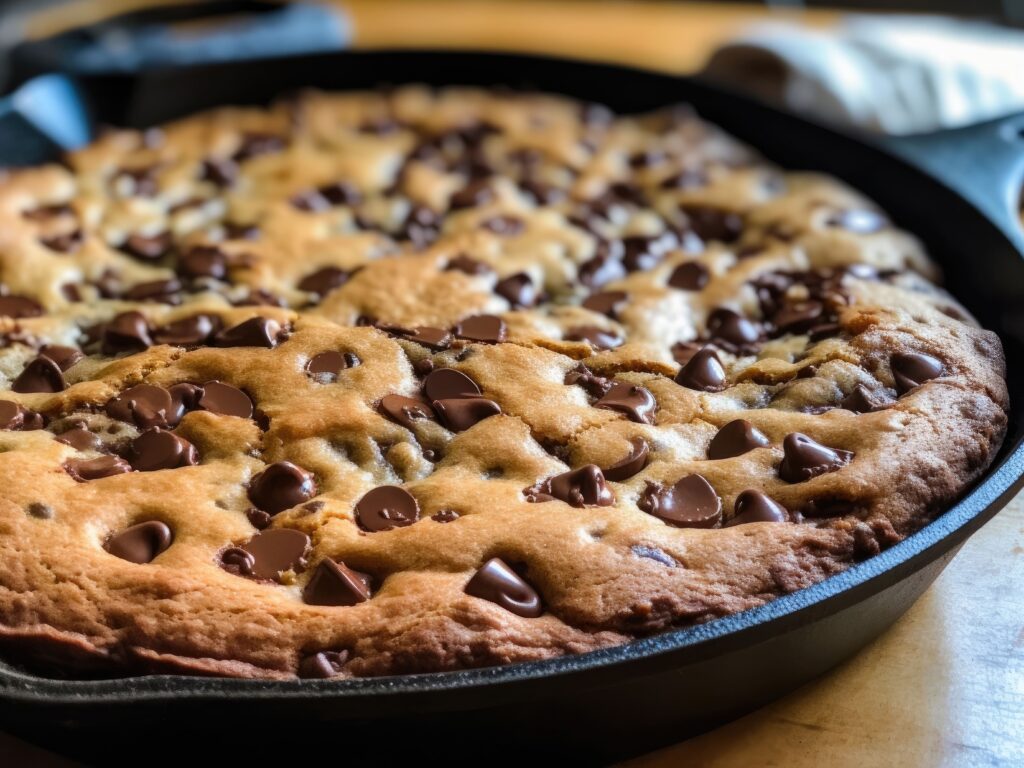
The dough sets the foundation for your cookie cake. Most bakers stick to a classic chocolate chip recipe, but don’t be afraid to try variations like sugar, peanut butter, or oatmeal cookies. The key is to ensure the dough stays soft and chewy after baking.
- Flour: All-purpose flour works perfectly, but you can experiment with gluten-free options.
- Butter: Use unsalted butter for a richer flavor.
- Sugar: A mix of brown sugar and white sugar gives the perfect balance of sweetness and chewiness.
- Eggs: These help bind the dough and add moisture.
Need help with a unique cookie recipe? Consider exploring ideas from Wafer Cookies Made Easy: Recipes and Tips for some inspiration.
Recommended Add-ins: Chips, Nuts, and More
When it comes to add-ins, the sky’s the limit. Here are some popular choices:
- Chocolate Chips: Go classic with semi-sweet or mix it up with white or dark chocolate.
- Nuts: Pecans or walnuts add a lovely crunch.
- Candies: M&Ms or Reese’s Pieces make it colorful and festive.
- Dried Fruit: If you’re feeling adventurous, try dried cranberries or cherries.
Frosting and Decorations for a Cookie Cake
No cookie cake is complete without a bit of flair. You can use buttercream frosting, chocolate ganache, or cream cheese frosting to decorate. Pipe fun designs or write messages to make it extra special. For toppings, sprinkles, mini marshmallows, or edible glitter can take it to the next level.
Equipment You’ll Need to Make a Cookie Cake
Must-Have Tools and Accessories
To make a cookie cake, you don’t need a ton of fancy tools. Here’s what you’ll need:
- Mixing Bowls: One large bowl for your dough and smaller ones for add-ins.
- Electric Mixer: A hand or stand mixer saves time and ensures a smooth dough.
- Cake Pan: A 9-inch round or square pan works great.
Optional Gadgets for Enhanced Results
If you want to elevate your baking game, consider these:
- Silicone Baking Mats: These make transferring the dough and cleanup easier.
- Offset Spatula: Perfect for spreading dough evenly or smoothing frosting.
- Piping Bags and Tips: Essential for intricate designs and lettering.
“Good tools might not make the baker, but they sure make the process a whole lot easier.”
Step-by-Step Instructions for Making a Cookie Cake
Preparing the Dough for a Cookie Cake
- Cream Butter and Sugars: Start by creaming the butter with both brown and white sugar until it’s light and fluffy. This creates a rich base.
- Add Eggs and Vanilla: Beat in eggs one at a time, followed by vanilla extract for flavor.
- Mix Dry Ingredients: In a separate bowl, whisk together flour, baking soda, and salt. Gradually add this to the wet mixture.
- Fold in Add-ins: Gently mix in chocolate chips or other chosen goodies.
Tips for Proper Baking: Time, Temperature, and Pans
- Grease Your Pan: Lightly grease your pan or line it with parchment paper to prevent sticking.
- Spread the Dough Evenly: Use an offset spatula to spread the dough evenly, ensuring the edges aren’t too thick.
- Bake at 350°F: This is the sweet spot for most cookie cakes. Bake for 18-22 minutes, keeping a close eye to avoid overbaking.
- Check Doneness: The edges should be golden, but the center will still look slightly underdone. It will firm up as it cools.
Common Problems When Making a Cookie Cake and How to Fix Them
The Cookie Cake is Too Dry or Overbaked
A dry cookie cake can ruin the dessert experience. Overbaking or incorrect ratios of ingredients are often the culprits. But don’t worry—there are simple fixes to restore moisture or avoid this problem in the first place.
How to fix it:
- Adjust Baking Time: Check your cookie cake at the 15-minute mark. The edges should look golden while the center remains slightly soft. Baking for too long hardens the entire cake.
- Use Simple Syrup: Brush a thin layer of simple syrup over the cake’s surface to bring back moisture. It’s a quick and easy remedy that works wonders.
Uneven Baking or Burnt Edges
Have you sliced into your cookie cake only to find the edges overcooked and the center underdone? Uneven baking is often caused by poor heat distribution or an improperly prepared pan.
How to fix it:
- Invest in Quality Bakeware: Choose metal pans for better heat conductivity, and avoid dark-coated pans that can burn edges. For more insight into tools, check out this guide on essential baking tools every home baker needs.
- Spread Dough Evenly: Uneven dough thickness causes inconsistent baking. Use a spatula to level it out before putting it in the oven.
Cracking or Breaking During Decoration
Decorating a cookie cake can feel like an artistic project—until cracks or breaks in the surface derail your plans. This usually happens when the cake isn’t cool enough or is too delicate to handle.
How to fix it:
- Cool Completely Before Decorating: Even slightly warm cookie cakes can crumble when handled. Give your cake ample time to cool.
- Use Frosting as Edible Glue: Gently fill cracks with frosting to mask imperfections while keeping the structure intact.
- Choose a Design-Friendly Frosting: Try using techniques like these creative frosting techniques for decorating for smooth and seamless designs.
“A little patience can go a long way—waiting for your cookie cake to cool properly might be the hardest part, but it’s so worth it.”
Creative Variations of Cookie Cakes
Double Chocolate Chip Cookie Cake
For chocoholics, this variation is a dream come true. Replace half the flour with cocoa powder and use a mix of semi-sweet and dark chocolate chips. Top it with a chocolate ganache drizzle for an indulgent finish.
Peanut Butter Cookie Cake
Peanut butter lovers, this one’s for you. Swap out some of the butter in the recipe for creamy peanut butter. Add Reese’s Pieces or peanut butter cups for extra flavor. A swirl of chocolate frosting on top ties it all together.
Vegan and Gluten-Free Cookie Cake Options
Want a cookie cake that fits dietary restrictions? It’s easier than you think:
- For Vegan: Use a plant-based butter substitute and flax eggs (1 tablespoon ground flaxseed mixed with 2.5 tablespoons water).
- For Gluten-Free: Substitute all-purpose flour with a gluten-free baking blend.
- Add-ins: Use dairy-free chocolate chips and make sure other ingredients, like sprinkles, are vegan-friendly.
“A cookie cake can be just as inclusive as the guest list—there’s a variation for everyone.”
Presentation Ideas for Your Cookie Cake
Tips for Adding Visual Appeal
The way a cookie cake looks can be just as important as how it tastes, especially if it’s for a special occasion. Here’s how to make it pop:
- Pipe Frosting Designs: Use a star tip to create swirls, flowers, or a border around the edge.
- Add a Splash of Color: Rainbow sprinkles or colored frosting can make it more festive.
- Themed Decorations: Tailor your decorations to the occasion, like using heart-shaped sprinkles for Valentine’s Day or edible pumpkins for Halloween.
Themes and Ideas for Special Occasions
A cookie cake can be the centerpiece of any celebration. Here are some creative ideas:
- Birthday Cake: Write “Happy Birthday” in bold frosting letters and add candles.
- Holiday-Themed Cake: Decorate with red and green sprinkles for Christmas or pastel colors for Easter.
- Sports Fan Cake: Use team colors or a frosting design that mimics a basketball, soccer ball, or football.
“When it comes to presentation, think of your cookie cake as a blank canvas—let your imagination run wild.”
Frequently Asked Questions About Cookie Cakes
Can I Use Store-Bought Dough for a Cookie Cake?
Absolutely! If you’re short on time or just want a shortcut, store-bought cookie dough can work. However, keep in mind that the texture may not be as soft and chewy as homemade dough. You might also need to adjust the baking time since pre-made dough can spread differently.
How Do I Store a Cookie Cake?
Cookie cakes are best enjoyed fresh, but if you have leftovers, here’s what to do:
- Short-Term: Wrap it tightly in plastic wrap and store it at room temperature for up to 3 days.
- Long-Term: Slice it into portions, wrap individually, and freeze for up to 3 months. Thaw at room temperature before serving.
Can I Make a Cookie Cake in Advance?
Yes! You can bake the cookie cake a day ahead and store it in an airtight container. Hold off on decorating until the day you plan to serve it to keep it looking fresh.
Step-by-Step Instructions for Making a Cookie Cake (Continued)
Cooling and Transferring the Cookie Cake
Cooling your cookie cake might seem like a minor detail, but it’s a crucial step for achieving the best texture and ensuring the decorations stay intact. Here’s how to do it right:
- Cool in the Pan: Leave the cookie cake in the pan for 10-15 minutes after removing it from the oven. This allows it to firm up slightly, making it easier to handle.
- Transfer with Care: Once it’s slightly cool, use a spatula to gently loosen the edges before flipping the cake onto a wire rack. Alternatively, if you’ve used parchment paper, simply lift it out by the paper’s edges.
Pro Tip: To prevent breaking during transfer, place the wire rack on top of the pan and flip the entire thing upside down in one quick motion.
Decorating Your Cookie Cake
Now comes the fun part—decorating! Here are step-by-step tips to make your cookie cake look as amazing as it tastes:
- Frost the Edges: Use a piping bag fitted with your favorite tip to create a decorative border around the edges.
- Add a Personalized Message: Write a message in the center using contrasting frosting colors. Keep it simple with “Happy Birthday” or get creative with emojis or shapes.
- Top It Off: Sprinkle the cake with edible glitter, mini candies, or crushed cookies for extra flair.
“Decorating a cookie cake is like dressing it up for the red carpet—it’s all about those final touches that make it shine.”
Variations of Cookie Cakes (Expanded)
Funfetti Cookie Cake
This variation is a hit for kids’ parties and anyone who loves a pop of color. Simply fold rainbow sprinkles into your cookie dough before baking. Pair it with a fluffy vanilla buttercream for a vibrant, celebratory look.
S’mores Cookie Cake
Bring the campfire vibes indoors with this decadent version. Add crushed graham crackers and mini marshmallows to your dough, and top the baked cake with melted chocolate and more marshmallows. A quick broil in the oven will give it that toasted effect.
Caramel Pecan Cookie Cake
For a rich, nutty twist, mix chopped pecans and caramel bits into the dough. Drizzle caramel sauce over the cooled cake, and sprinkle with flaky sea salt for a gourmet touch.
Troubleshooting Advanced Cookie Cake Challenges
The Cake Sinks in the Middle
A sunken center can be disappointing but isn’t the end of the world.
How to fix it:
- Check Leavening Agents: Too much baking soda or powder can cause the cake to rise quickly and collapse. Measure carefully!
- Don’t Overmix: Overworking the dough introduces too much air, which can lead to sinking.
- Solution for Salvage: If it’s already sunken, fill the center with frosting or whipped cream to disguise it.
Overly Sweet or Bland Taste
Balancing sweetness is key in any dessert.
How to fix it:
- Overly Sweet: Use dark chocolate chips or nuts to cut through the sweetness. A pinch of salt in the dough can also help.
- Too Bland: Add a splash of extra vanilla extract or a dash of cinnamon for warmth.
Conclusion: Mastering the Art of Cookie Cakes
H3: Recap of Key Tips and Tricks
By now, you’ve got everything you need to create a cookie cake that’s not only delicious but also a feast for the eyes. Here’s a quick recap:
- Preparation: Choose high-quality ingredients and gather the right tools.
- Baking: Keep an eye on the time and temperature for that perfect chewy texture.
- Decorating: Have fun and let your creativity shine.
Encouragement to Experiment and Enjoy
The beauty of a cookie cake lies in its versatility. Once you’ve mastered the basics, don’t hesitate to experiment with flavors, decorations, and themes. After all, baking is as much about joy as it is about precision.
“A cookie cake is more than a dessert—it’s a celebration of creativity and comfort rolled into one.”
With this guide in hand, you’re ready to whip up a cookie cake that’ll wow your friends and family. So, what are you waiting for? Roll up your sleeves, preheat the oven, and let the magic begin. Happy baking!